| Part 1 | |
|---|---|
 |
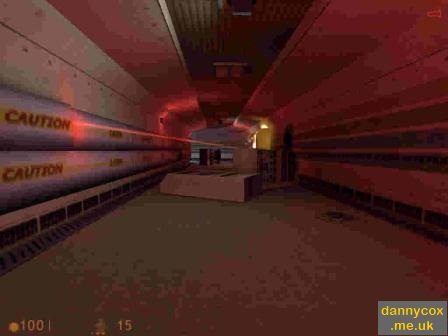
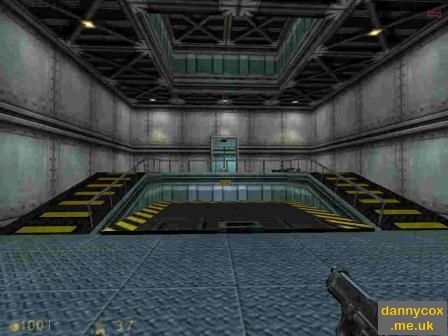
Leave the test lab and use the right hand retinal scanner (it may look broken but use it anyway). The door will open. Continue along the corridors, up the lift (elevator), and listen to the two scientists talk. Then take the scientist to the Control Room door and let him use the retinal scanner. Be careful here! Laser beams come flying from the Test Chamber when you get about a third of the way in (see picture) - the fourth laser beam will open the door. Then run past into the next corridor. |
 |
In the next room, a Headcrab will fall from the ceiling - you don't have a weapon so just run past it into the next corridor. A laser beam will come flying out of the pipe on the left. (See Picture) Just be careful dodging and crawling under them. Oh, and a machine will explode on your right after you start and another laser beam will come too. The second laser will slice a dead security guard in two if you stick around near the end of the corridor! |
| Pick up the crowbar by the door and smash your way through it. At the lift (elevator), break the door's glass, and watch three scientists fall to their death (don't worry, it's meant to happen, there's nothing you can do). Climb the maintenance access ladder to the top. Help the security guard kill the zombies (and kill him if you want the pistol early), then continue (making the security guard follow you if you didn't kill him), through the following corridors and make your way to the personal facilities (where you got your Hazard Suit) and get a power cell from your locker and some ammo from Guthrie's. Then make your way towards the transit system. | |
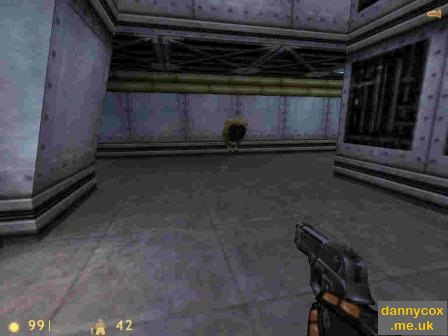 |
When you arrive near the security door, a shaft vent will break out of your way so you can access a room full of broken electronics and stuff. Be careful of the Headcrabs around the room. At the other side of the room is another shaft which takes you through to another corridor. Beware of the Headcrab in a fallen down shaft, and follow the corridor to the glass security door. A dead security guard will give you a pistol if you don't already have one. There is a First-Aid Unit behind him - use it if you need health. Press the button between the two doors to open the second one and pass through. There are a lot of Houndeyes ahead so be careful. (See Picture) |
 |
When you go round a few corners you should see the G-Man on a cat-walk if you look up. Continue a little bit and look left to see a First Aid Unit in a little room. (See Picture) |
| Optional Opposite is a door, go through it. Watch out for a Headcrab! Follow the corridor round to a ladder. If you are trying to keep your health high, then quick save here. (Normally F6) Be careful here! There is a Zombie and some Headcrabs at the top. Quickly shoot the missile thing behind them and they will blow up. Afterwards, walk round to the left to find a scientist - when he gets up, tell him to follow you. Walk back round and over the cat-walk. At the end, kill the Zombie, then wait for the scientist to open the door. In here are some grenades and some ammo for your pistol. Return downstairs. |
|
 |
Walk round the corner and the next one. You will
hear a teleportation nearby. Return to the Rusty door. Here is your
first encounter with an Alien Slave - it will break the door down.
Shoot it a few times before it charges up an attack. Once killed,
there is some ammo in the room he came out from. Continue to the big
dustbin and be careful of the Headcrab. Behind the dustbin is a
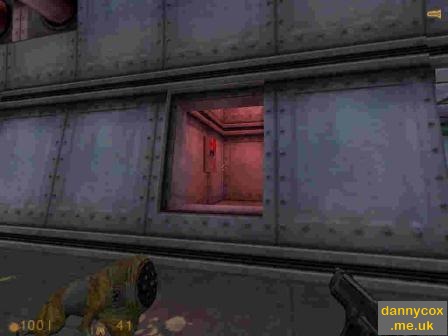
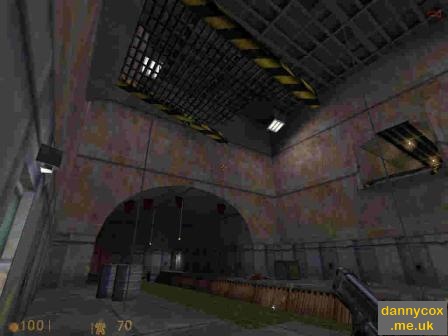
First-Aid Unit. Behind the mesh sort of thing (see picture), is a
Zombie, kill him now, as you'll be behind there in a minute. Walk up
to the hole in the floor and beware of another Headcrab. Jump down
the hole and go right. When you get to the valve turn it to raise
the water level. Turn around. Turn right, then left and climb out.
Save the game - You've completed part 1! |
| Part 2 | |
|---|---|
 |
Follow the corridor until you come to a room with a lift and a big lever (see picture). You need to pull the lever, but before you do, get ready for an attack of 50 odd Headcrabs! Pull the lever and run down and quickly jump on the lift. If you stand in just the right place, the Headcrabs will just fly right past you. At the bottom, move towards the door, then throw a grenade at any Headcrabs on the Lift. Any remaining ones kill with your pistol. A Houndeye will appear on top of a box, just kill it with your crowbar. Then use your crowbar to destroy the other boxes to unveil some goodies. On the other side of the lift is another First-Aid Unit. |
| Follow the corridor to the bridge, but only take one step onto it. A Bullsquid will teleport from above and break the bridge. Jump on the pipe to the right and work your way around to the vent and break the cover with your crowbar. Crawl through the vent to the very end and break the cover. Jump down and walk around the corner and break all the boxes to uncover three power cells. | |
 |
Then, return and go through the door, marked "Lower Canal" and climb down the ladder. At the bottom, kill the Bullsquid and break the boxes. Be careful of the barnacles! Kill any that you think will get in the way, then jump in the canal and swim to the left (see picture). When you have gone as far as you can, turn right, then right again and climb the ladder. Use the First-Aid Unit (Hey, make the most of all these units! You don't find this many later in the game!) if you need to then walk through the door. Destroy all the boxes, then walk through the next door. |
| Follow the passageway round to a big room full of
hanging boxes. Climb the ladders to the top, then jump from box to
box (quick save often) to the other end. Walk through the door,
follow the passageway, climb the ladder, then follow another
passageway and you'll find yourself on the other side of the broken
bridge. Turn left, then left again and enter the lift. Save your game - You've completed the level! |
|